How I Did It:
Equipment: Canon 5DMII, Canon 24mm f3.5 TS-E II (Tilt/Shift) lens, Bogen/Manfrotto Tripod, Cable Shutter Release.
Settings: Shot RAW, mirror-up, three images on auto exposure bracketing (AEB), 1/45 at f/16, 1/180 at f/16, 1/10 at f/16, ISO 100.
Be sure to click on the images below to enlarge them and see the detail.
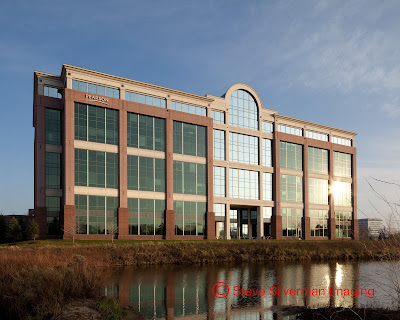
This is the base image (1/45 at f/16), no processing of any kind:
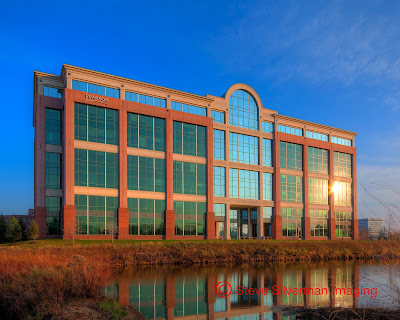
Next, all three images were open directly from Adobe® Lightroom® to Photomatix® Pro using the Detailed Enhancer method. This is where HDR comes to life.
Illustrative Method. All of the sliders were drawn to the right to essentially distort the effect. Smoothing, Saturation, and Saturation were drawn back a bit to keep contrast and noise under control. The result is dramatic. The question is, "Is this reality?" or "Is this a version of reality?" Or, another way, "Is it better than reality?"
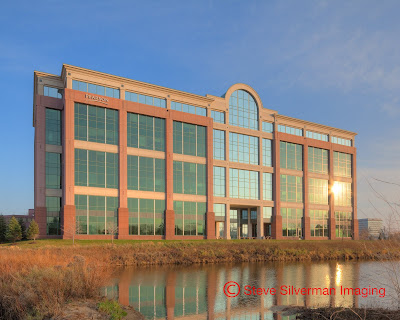
Photorealistic Method. This method uses the sliders to blend the shadows and highlights together in, hopefully, a manner that more resembles what our eye sees. The images was processed using the Photomatix® sliders as follows: Strength 30, Saturation 60, Luminosity +1, Microcontrast +3, Smoothing 0, White Point .250, Black Point .015, Gamma .922, Highlights Smoothness 63, all other settings at default. The resulting image shows is more realistic but creates two issues. HDR by its very nature will remove contrast because, after all, it's trying to moderate exposure values in parts of the image. Because of the lack of contrast and, I believe the alogarthims of the program itself, the entire image is softened up or less sharp.
As a result, two separate operations were performed. The first was Color Efex® Pro 3.0, Pro Contrast, which was applied to add contrast back to the image without changing the color tone. The second, was to sharpen the image, using Adobe® Photoshop® using the High Pass filter at 2.0 pixels. The final result is as follows:
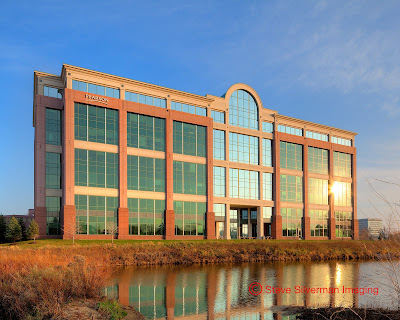
The following compares the pre-sharpened tone-mapped image with the Pro Contrast/sharpened image. The contrast/sharpened image on the right shows much more contrast but is it oversharpened? Your comments would be appreciated!

For more information,
4445 W. 77th St. #130
Edina, MN 55435
952-844-0119 c952-905-1197
steve@stevesilvermanimaging.com

No comments:
Post a Comment